Showing posts with label Annie Sloan Chalk Paint. Show all posts

Tuesday, September 27, 2016

Goodbye to the Harlequin Table

I am sad today. I took a table that I painted a few years ago to the ReStore and donated it. This is a small thing, and something I do often, but today it made me cry. More than once.


I am surprised by the depth of this reaction. It's a side table I spent $9.99 on at a thrift store about 3 years ago. I did spend a ton of time working on it. I perfected a whole new technique involving layers of chalk paint glazes. And it is a vintage Henrendon (High end furniture) piece, most likely from the late 60's or early 70's. But that's not it. I have donated a ton of really high end stuff that didn't sell and things I have painted before with nary a second glance, let alone soul tears. 

And yet, this one stung, all the way to the core of me.


As I let my thoughts swirl, I heard things like: 

"But this one told me what it wanted to be." 

"I prayed about whether it was a good buy and felt strongly I should get it. 
So why didn't it sell? Why didn't it ever find a home?" 

"I am so tried of getting all excited about things that never pan out. 3 years, 4 shows 
and no one wanted it when I worked so hard and did such excellent work."

I walked over to the dishes and opened the dishwasher to make one last attempt before the weekend to finish washing what was on the counter (something I have been attempting since Wednesday). It was empty, except for the water bottles that my daughter despises filling and putting in the sink. I pulled one out, to see if they were clean or dirty and realized she had put away and entire dishwasher full of dirty dishes. I crumpled to the floor and started weeping, certain that this was so not about the dishes.

I prayed that I would be able to keep doing this mom thing, and that I would understand why God seemed to find my aspirations to succeed at something more meaningful to be unnecessary right now. I reminded Him how I had to quit running barn sales because I never made enough money to justify the enormous effort it took to conjure them into existence. I reminded Him that me doing barn sales and art was His idea, not mine. And I sat there, pleading for understanding and love.

Just then my dog, Harper, climbed up on me and feverishly started licking my tears off my cheeks.


If you have never experienced this before, it is very wet, kind of gross, insanely distracting, and incredibly funny. Needless to say, my pity party was disrupted. Now, don't think I wasn't still bawling, oh no. I was just bawling and praying and laughing and trying not to dump my dog off my lap and trying to decided if I loved or hated being licked. It was a slurpy, drippy tangle of emotions. 

Harper plopped right on my lap and kept trying to lick me while also turning around to find a comfortable place to sit or stand. And I felt this enormous wave of love from her. This sweet dog knew I was sad and was showering me with all the gifts she had to give. Her little licks, her attention, and her warm little body. So of course I started crying even harder as I saw her for the angel in my life that she is. Which made the dog lick more and me laugh more.

In the meantime, my taquitos were done. I put her on the floor and walked across the kitchen to take them out of the oven. Taquitos are a food of my soul. Straight dopamine there. I put them on top of the oven to cool and turned around to feel God say, "The barn sale was never about money for you. That was never the point. You have other things to do than paint furniture and that's what you'd still be doing if the money had followed." 


Of course.

And then my mind was filled with the image of a woman finding my table at the ReStore and it being just the shape or size or color or price she had been hoping for. I could feel her delight and relief at discovering "just the right thing." And I understood that it was about me developing my skills and then sharing my blessings with others. That my barn sale years had been about becoming more more, not making more. And even I can't deny that I succeeded there. I am so much more than I was.


I tell you this story for many reasons. 

First, it's what's happening today. 

Second, it will not be the last time God and I have this conversation. We have had it many times in the years since I quit doing shows and every time, I gain a little more faith in myself and a little more trust in where He may be taking my life. 

Third, never underestimate how much you are loved. God sent me this little dog two years ago and she has blessed me in ways I could never have imagined. Allow yourself to embrace these types of experiences for the gifts from the universe that they are. Feel the love they are bringing you. It is OK to feel loved. We are all worth all the love the Universe or God could every shower down upon us.

Fourth, it is OK to not get the answer you want. Today, God did not tell me that I will be a huge success in the blogging world. He did not tell me that my paintings and collages will sell as fast as I can make them, if and when I get to that part of my life. He simply had a little dog love on me and told me that my enormous efforts were not wasted. Then He showed me how I was doing good things for the world and my future. He gave me what I needed to get up and write today. It may not be enough tomorrow. But it is exactly right for today. 

Before you get upset that He didn't tell you what you wanted to hear, think only about what you need today. I bet He will give you what you needed to stand up again and keep walking, at least today. And if you need more tomorrow, He will give you what you need for that day. Accept that what you need is enough. That you are already enough to make up the difference and keep moving forward. And try to see the angels hiding in little dogs, or fist fulls of dandelions from small children, or a timely phone call. 

So today I will be a little sad. But that's OK, because tomorrow I will look at my emptier garage and see space to work on my barn doors. I will think about someone reading this post and it being just the right thing to keep them going through a tough spot. If that's you, know I send my love, my deepest sympathy and a full understanding of your frustration. 


That said, you'll have to find your own little doggie angel. Harper stays with me.


Talk to you soon,

CM Shaw

PS: Upon closer inspection, I realized that the dishes were clean after all and I was spared digging through all the drawers and cabinets to find the "dirty" ones to rewash them. Whew.


Thursday, October 2, 2014

A gift from Craigslist...and a little more stripping

So I did a bit of shopping since last we talked. 

Project Basement De-junk is in full swing. (If you're just joining us, here's the start to this story) After about two seconds of deep soul searching, I decided to boot the kid's Little Tykes Jungle Gym to the back yard. They have used it as a fort almost daily for years, so I wanted a table that could double as a fort with a blanket thrown over it. Suddenly all pedestal tables were out. Hard to fit a bunch of kids under a table with a pedestal taking up all the under table space. And because this is truly a playroom, with people running around and throwing things and shooting Nerf bullets everywhere, round edges are a must, just to reduce the bruise and head bonk factor a bit. Do you have any idea how rare a four legged round table is on Craigslist? 

Fortunately, the Craigslist Gods smiled on me, as they do from time to time,  and I found the perfect table for my basement craft area. There are even two leaves that I can add to make it perfect for the occasional Girl Scout troop activity I found myself volunteering for the other day.


Isn't it amazingly perfect!? I am IN LOVE with the legs. You remember from this post (I think that was the last time I posted about stripping) that I have a thing for sexy legs.


And get this...the table cost $15!! I am totally not making that up. It felt like a gift from On High and probably was. Don't you love it when the Universe decides to show it's support for your home decorating/organizing adventures? And the cute lady I bought it from was super psyched to hear her table was getting a makeover and a new job as a kid's craft table. Win-win!

As you can see, the top is pretty banged up. And it's a little dark for a space full of white and natural wood furniture. So I got my Citristrip on and had at it.


Don't you love a good action photo? DK took this one for me. I am the thing in the back that looks like a clear garbage bag full of rubbish. Well rather, that's my prize winning nasty paint apron. In any case, look how pretty the underlying wood is! Could. You. Die? 


Nothing like a little naked wood grain to get me all worked up. Whew!


OK, Moving on. The naked part is over.

(Funny how you can actually hear the collective Awwww...Man!)

So when we last saw the basement, it looked something like this:


Yesterday it looked like this:


Here's a better shot of the table in it's place.


You can see the debris is way down and I actually vacuumed! Doesn't the table fit the space so nicely? This is with one leaf in. And just for the record, I love playing Rock'em Sock'em Robots with DK.


The table looks kinda weird at this point, but the top still needs to be sealed and have the base painted. Enter Miss Mustard Seed.


I've had my Miss Mustard Seed Hemp Oil since January, I think, and I've been dying to try it. So I pulled it out and rubbed some right on the raw wood. Wow! What a result. It brings out all the depth in the wood and eliminates all the unevenness in the finish. We'll see how it holds up to kids and paint and glue sticks, but if something gets on it, I can always just sand it down and oil it again. No biggie.

Funny story. Harper, my dog,  walked down into the basement between coats and started sniffing the air. I thought it was the residual smell off the stripper that interested her, so I put her on the table. She walked over and started sniffing at the bottle of hemp oil sitting there and wagging her stump of a tail. As I put on the second coat, she watched intently, waiting for me to drop the rag so she could eat it. So funny! I know it's food grade and all, but probably not a great snack for doggies.


I added a total of two coats of hemp oil and let them dry overnight, then I flipped the table upside down and wiped it down pretty well with a few Clorox wipes. It had been in someone's storage area for a long time. 

With all the white furniture down here, I decided to go with a finish similar to my armoire. (I have so much more to post about this armoire, but that's for another day. Sigh.) Due to my time constraints -I need this done preferably by tomorrow- I opted to go with chalk paint, rather than the sleeker look of an Alkyd. Have I posted about the Alkyd paint yet? Sheesh. Too much life and not so much time to blog. Long story short, I opted for Annie Sloan Pure White, mostly because I just bought a can. 


I think chalk paint looks it's best when it's distressed, so I will do just a slight distress, like the corners of the armoire here. 

So table upside down, paint out, nasty painting apron on, and I realize I still need to mask the top of the table. Well lucky me, a few weeks ago the kind people at Scotch Blue sent me another roll of tape to try. I do so love free product to play with.


This is a newer product from their painter's tape line. It's called 2093 EL with Edge Lock. It is a lot tackier going on than the regular scotch blue tape. Here's their page on it for everything you'll ever want to know about it. So far, I like it, but I haven't taken the tape off yet.


Usually I would unscrew the legs to paint a table like this, but the screw body of this particular leg kept unscrewing with the nut, so I decided to be lazy and just paint everything together. I may regret that decision later, but for now, I'm fine. You can see how I taped right up to the frame. I'll let you all know how it turns out. 


BTW, this pic is after one coat of ASCP. I did two more.

This is what my basement currently looks like, just imagine the paint a little denser, as this is after the second coat and I did three:


And I hate to do this to you all, but I 'm gonna leave you hanging until I get it all done for the big reveal. Mean, I know, but it's not done yet. Plus it will give us both something to look forward to.


What have you all been working on lately? I love hearing about your projects.

Talk to you soon,

CM Shaw


Tuesday, May 13, 2014

How to make a pallet wood mirror...if you already have the back and some Webster's Chalk Paint Powder.

This project idea came about from some very disparate sources. In fact, this whole post came about through the odd juxtaposition of me having too much crap stuff with "potential" in my studio, (surprise, surprise), an unexpectedly generous donation, and me tripping over a piece of wood. 

Let's begin at the beginning, shall we? Julie Andrews thinks that's "a very good place to start." 

Jump back 2-3 years, when one of my friends was moving. I had been helping her clean walls and bathrooms, while she was prepping for several weekly garage sales to pare down the amount she would have to move. After the third or fourth garage sale, she started to get a little desperate. Knowing I was "crafty", she brought over some things that hadn't sold, but were pretty nice. In the pile were two kits to make smashed tile mirrors. Think wooden board with molding around the exterior edge, then an open place all the way around the mirror and molding framing the 8x10 in  mirror in the center all made out of raw pine. The idea was to smash the cobalt blue and white tiles and then thin set and grout them in some pleasing pattern around the outside of the mirror, circa 1997. All I saw was a woman who needed someone else to deal with all this stuff, so I took the mirror frames and a bunch of other stuff as an act of mercy. I'm sure I just shoved them somewhere out of the way in my studio and forgot about them.


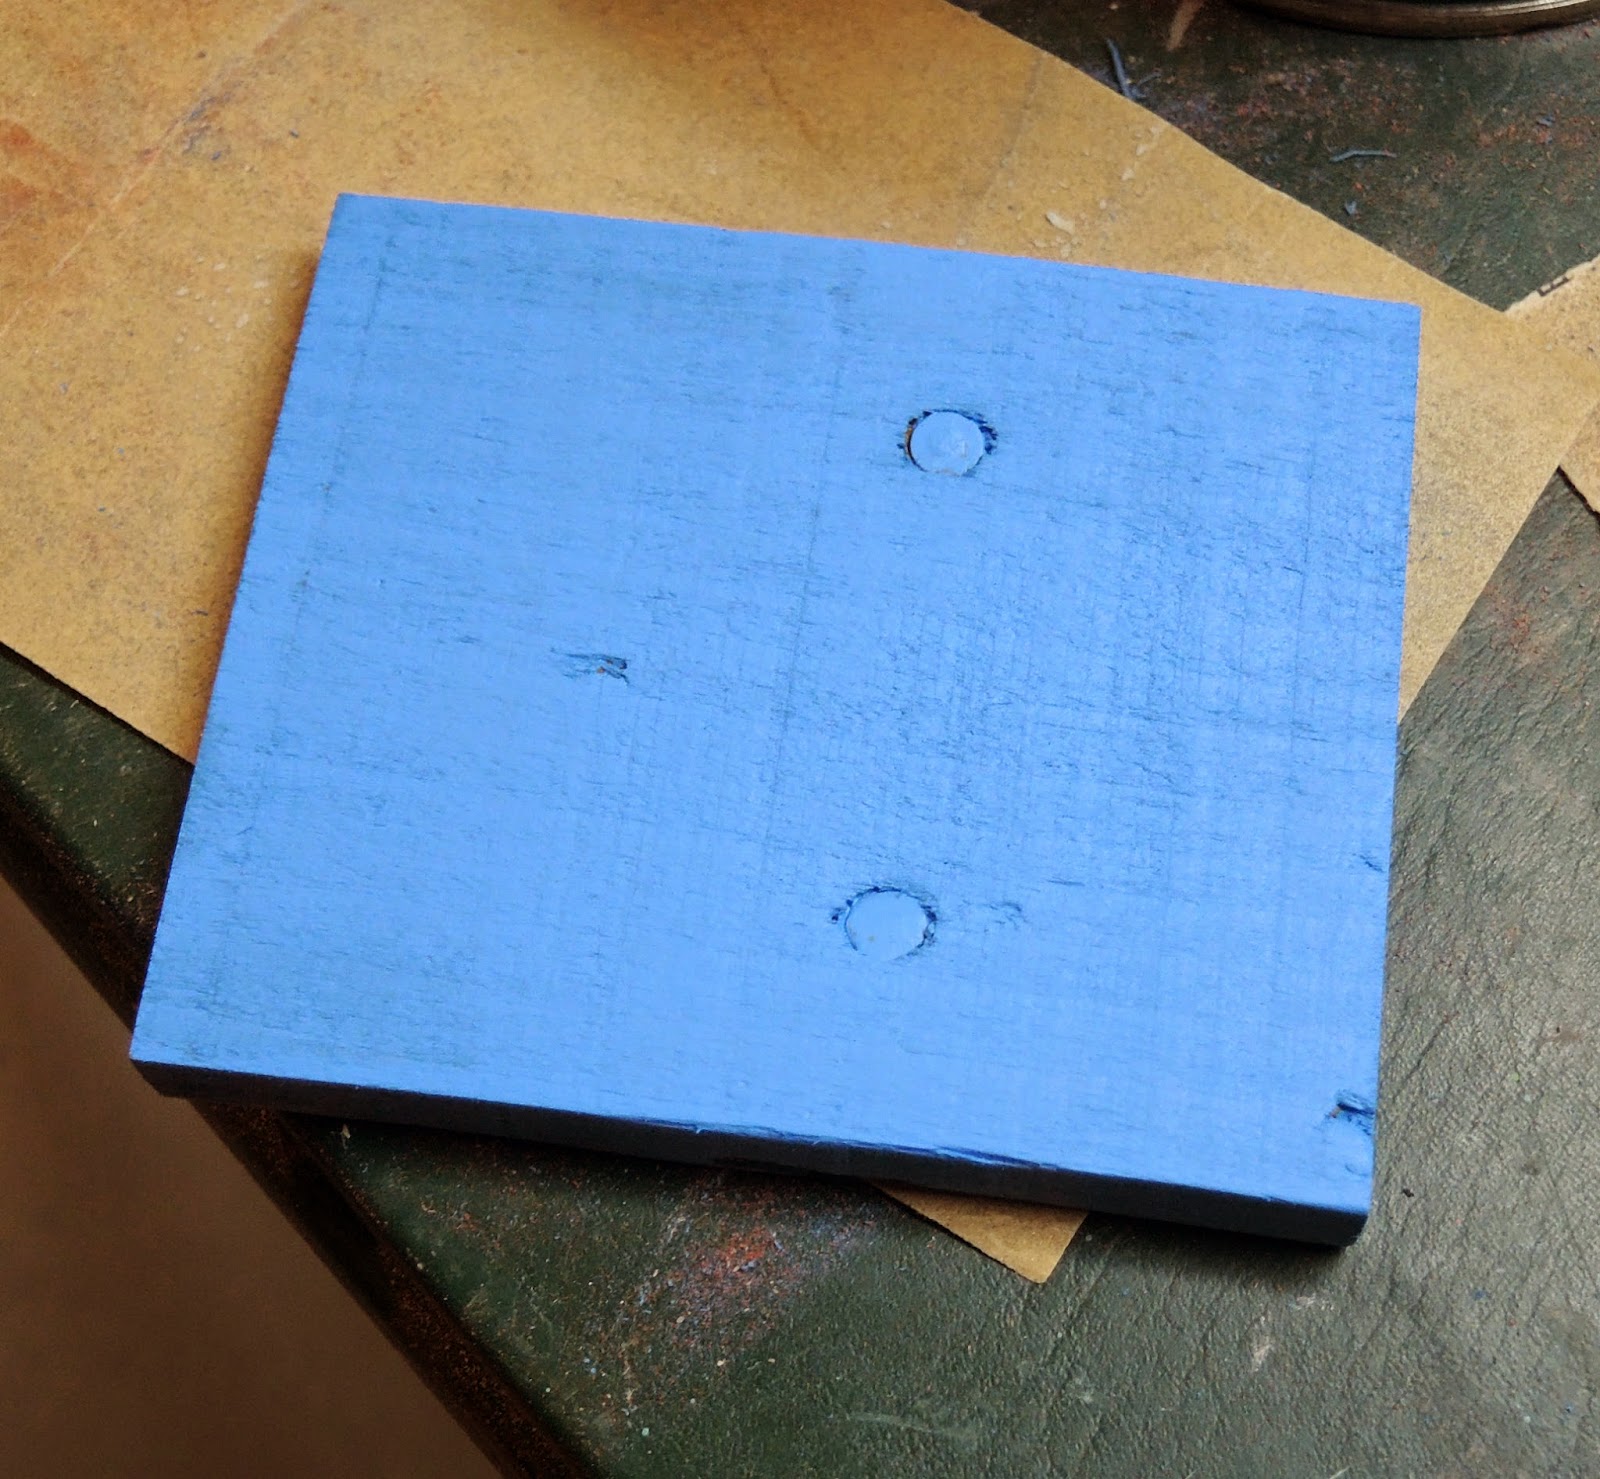
This is an "in process" picture, as I forgot to take a "before" pic. 
But at least you all can see what I'm talking about now.

Let's fast forward to February of this year. A fellow designer friend and I get this great idea to do a nest and egg painting workshop where we will teach how to make chalk paint from latex and then use various glazing techniques to make the faux eggs look real. I love this idea and start shooting emails to all the chalk paint companies I can think of to get samples for my students to try. Of the eight companies I emailed, only one even bothered to respond. Webster's Chalk Paint Powder.


And respond they did. They sent free samples of their Chalk Paint Powder mix-in for each of the 14 potential student as well as a large tin of Fiddes & Sons wax to be shared among the class. Folks, this was an amazing corporate response for this little blogger. And it was so perfect for my workshop!


But I had to cancel the workshop, for reasons too numerous and annoying to discuss here.

In an effort to repay the good people at Websters for their generosity, I started wondering what amazing project I could do to post about their product. I thought of redoing vintage frames, or boxes, but that just didn't seem sexy enough. And I didn't have room for another piece of furniture. 

One day,  I was mad at my kids for something, so I went into the studio and started whacking away at a pallet I was trying to break down. If you are mad at your kids, I highly recommend this way of releasing negative energy. It is so satisfying to beat the crap out of the wood rather than the child. After removing several boards by brute force and discarding them randomly, I took a step back. 

You know that moment in a James Bond movie, when the villain accidentally steps just a hair too far off the edge of a cliff and you see the whole weight of his body shifting towards the abyss? And you know at that second he is going to go careening off the edge to his doom? 

Yeah, that's what my foot and body did as I tripped over one of my hastily discarded boards and came crashing to the floor. It was so gloriously out of control and completely awkward, that I just burst out laughing. While I was cracking up, my eyes fell on the box Webster's had sent me. My mind put two and two together and I thought, "I could use the Chalk Paint Powder with all this latex I have laying around and all this pallet wood and make super cool mirrors to sell at Lucketts!"


So that, friends, brings us to our project today.


How to make a pallet wood 
surround for a mirror:


1. Have a desperate, moving neighbor dump a bunch of craft supplies in your lap. 

2. If this isn't likely to happen and you still want to make a mirror like this, go buy yourself a sheet of Masonite or thin (apx 1/4 in) MDF at Lowes or Home Depot and have it cut to the size you want the whole piece to be when you are finished.

3. Choose whether you want to use an existing, pre-framed mirror (you could get one really cheaply at a thrift shop or a garage sale, or there's always clearance at Target or Home Goods). The simpler the frame the better this will look, and the easier it will be to match the molding. If you decide to build from scratch, it would be easiest to purchase a pre-cut mirror at a craft store. Get whatever size you want. You could also use a larger size picture frame for the outer frame and have the backer wood cut to fit that.

4. Get a length of small, simple molding, as this will let the pallet wood be the star of the show. Decide whether you are going to use butt joints or mitred joints. Butt joints are easier and stronger, but mitred joints look better. If you are making everything from scratch and using a craft mirror, figure out the lengths you need for both the interior and exterior frames, based on the joints you are going to use, the backer board you already had cut, and the size of your mirror. I would use Loctite Wood construction adhesive and some clamps and just glue everything together. I love that stuff. 

I would lay everything out, including your mirror, before you start gluing. Get it where you want it, and then trace the outside of the mirror with pencil. Glue this down first. Then glue the mirror molding down. Then the outside frame.

If you are using a pre-framed mirror, do your best to match the molding your mirror came with, but don't stress about finding an exact match. Once you paint them the same color, a lot of the differences will disappear. All you need to build is the outside frame for the whole board. Once your frame is cut, line it up, but don't glue it down. Lay out your pre-framed mirror in the center and make sure the whole thing looks like you want it to. Trace the outside of the mirror onto your backer board with a pencil. Then glue the mirror down first, applying the glue to the mirror back and using the pencil outline to guide your placement. Once the mirror is in place, then glue the outside frame together, suing the edge of the backer board as your guide line.

Once you have the frames all measured, cut, placed checked, and frames and mirrors adhered to the backer board, you can start doing funner stuff like painting and cutting pallet wood.

5. Figure out which pieces of pallet wood you want to use and how you want them stacked around the mirror. I get weird about things like how nails line up and having the same grain patterns together, so this is an important step for me. If you're more laid back than that, then pick your boards and go on to then next step. If you have no idea what to do with a pallet, read this post first.

6. Figure out how your boards are going to fit around your mirror. Do you want them to run horizontally or vertically? I did horizontal, because I felt it showed the most of the varieties of pallet wood I was using. (ie. most of the pieces just seemed bigger that way.) I would recommend trying to avoid notching around the inner frame unless you really know your way around a table saw and jig saw. Just try to choose a stack of board that are the same height as the mirror frame. You will be able to cut the top and bottom boards width-wise to fit what's left.

See how the white board just rests right on the inner frame and the blue wood comes right up to the edge? This is the easiest way to do it. The brown board was cut thinner to accommodate everything else lining up.

7. Start measuring the boards that go next to the mirror first. I measured from the inside of the outside frame to the outside edge of the inner frame. Mark the wood carefully. Then use a mitre saw or table saw to cut your pallet wood to size. Please be very careful to avoid nails!!! Swap your wood around or turn it another way, or just remove the nail if it is in your cutting path. It could ruin your saw or kick something up in your face while cutting. The "character" of having that one nail is not worth losing an eye or replacing a power tool, I promise.


I repeated this process for all the smaller pieces of wood, placing them in the frame as I cut to be sure they fit nicely. If the were just a hair too wide, I sanded them with a 100 grit sandpaper until they fit like I wanted.

8. Once all the smaller "side" pieces are cut, get out your end pieces and cut them to length. You will adjust the width once they can fit in the frame. Measure from the inside of the outer-most frame to the other inside edge of the same frame. Remember, we are not working with the mirror frame right now. Cut your wood to fit. Repeat for all pieces that will be above or below the mirror.

I know this mirror has notched pieces and I told you not to do that (I got help from a woodworker friend) , but it also shows you how the green piece was cut thinner to accommodate the orange piece's width.

9. Once you have all the wood cut to length, figure out how much you need to take off the width. put all the pieces, short and long, in the frame where they go. Slide in all the wood that will be full width. Whatever space is left over is the width you need to cut your wood to. The easiest way to do this is with a table saw. Use a stationary guide rail and a piece of scrap wood (rather than your finger) to push your piece past the blade. Check for size and sand or re-cut if needed.
Repeat for all remaining pieces until mirror surround is full.

10. Sand all wood until smooth enough to handle. Pallet wood loves to give you splinters. I used 150 grit and then 220 grit to make it silky.

11. Now you get to paint! Woo Hoo! 


Choose your colors for the frames and the boards. If you are using regular chalk paint, like ASCP or Fat Paint, etc, then paint, wax and distress away. I didn't prime anything first. I did, however decide to try something new.

This is where the Webster's Chalk Paint Powder comes in.


I had a bunch of sample size latex "oops" paint that a friend had given me, as well as some really great wall colors left over from various projects in my home. I thought this was the perfect time to give "The Powder" a try. 

I used all different brands of latex from Valspar to Behr to Benjamin Moore Aura to Sherwin Williams between all the wood on the two mirrors. I also used Annie Sloan Chalk Paint, because I liked the colors and I had it on hand. The samples were nice because they are roughly a cup. (I didn't measure and the people at Webster's may be cringing right now. If so, sorry guys!) If it makes any difference to anyone, it worked just fine.

I am super anal about how my colors relate to each other, so I take each of the paint cans or jars and place it over the board I am going to use it on, to be sure I like how they all relate to each other. Often I think I'll love one color, only to hate it next to another one. I tweak and replace and readjust until I'm happy, then I paint the wood. But that's me. If you're lower key, just have at it.

12. Mix your latex and chalk paint powder. 


 This is super easy. You take 2 Tbsp Chalk Paint Powder and dump them in a container. Then you pour in 1 Tbsp tap water and mix them until the powder dissolves. This is a terrible picture, but it looks like this when it's ready:


Then you just pour the water/powder solution into the pre-measured paint and mix away.


When it's all mixed, you use it the same you would use and boutique brand of chalk paint. You can distress or wax or glaze or whatever your little heart desires. And it keeps for a while. I started fiddling with it about 2-3 months ago and my air tight sealed samples are still fine.

I applied one coat of each color to my pallet wood boards. 


See? The Webster's paint covers just like chalk paint. This is one coat.

I used a little different treatment to my bases, depending on whether it was the dark set or the white one. The dark set I stained the pine first. Then I painted over the stain and the whole background with blackboard paint. My plan was to rub off some of the paint with a wet rag, so the stain could show through without being sanded off. Apparently blackboard paint is harder than chalk paint. Very little came off with the wet rag. So I distressed the tar out of it with 100 grit sand paper, and sanded off all my stain, but exposed the right amount of wood. Undaunted, I just stained it again over the paint. Then dark waxed the whole thing. Whew.


This is a terrible picture again, but it give you an idea of the technique used on the darker frame. And staining over sanded paint works great!

For the white mirror backer, I used one coat of ASCP for the base and then distressed it to just reveal the wood underneath. 


14. Once you have painted everything and let it dry, it's time to distress. I usually use 150 grit and then 220 grit for this process.  I did find that the cheaper paints like Glidden mixed with the Chalk Paint Powder were a bit harder to distress than ASCP is. But I just switched to a lower grit paper and it worked fine. Keep in mind, I did not measure how much paint to powder I was using, I eyeballed it. This may make a huge difference. If it matters to you, measure to be sure you have the right proportions.


15. Once everything is distressed to your liking, wax it. I used only a single coat of matte clear wax on the white mirror pieces.( I used a matte wax on the white set called Renaissance, because I wanted them sealed, but not shiny. It's pricey though. I already had it for re-waxing my antique armoire. But you could use any wax and be fine.) The dark mirror pieces got Annie Sloan clear wax, then dark wax, then clear wax.

I was also careful NOT to wax the back. I have no idea how construction adhesive would do with wax and didn't want to find out.

16. Let the wax dry. Then glue everything together. I let the waxed pieces sit overnight, mostly because my kids had come home from school and my project time was over for the day. When I came back to it, I made sure I loved how everything looked and then started gluing. I used a board turned vertically to hold all the side pieces in place with one clamp and one clamp on each end of the top and bottom boards, because I didn't want any warping and the board already had a hint of a buckle to it. If you don't have clamps, anything heavy, left overnight would help the glue set nicely. I left the clamps on overnight.

17. Take the clamps off and add D-ring hangers and a wire so you can hang your new mirror. Drill pilot holes a little smaller than your D-ring screws into the back of the mirror, being sure BEFORE YOU START DRILLING that your screws are short enough not to come through the front of the mirror. Once you have your pilot holes, you can place your D-ring and then screw in the screw. Repeat on the other side, being sure that the two rings are level and the same distance from the top of your mirror. Add a wire between them if you wish. 


And you're done!

Can you tell which of these boards I used Webster's with and which ones are ASCP? 
Neither can anyone else. And it's way cheaper.


I can't decide if I like it better this way, or with the blue on the top. 
Turn your head upside down and tell me what you think.

These mirrors will both be available at the Luckett's Spring Market this weekend. 
Come check it out Saturday and Sunday 10-5 in Luckett's, VA. 
I promise it's worth the drive and the entry fee. 
Plus I'll be giving away free samples of Webster's Chalk Paint Powder for you to try.

Talk to you soon,
CM Shaw

PS: I was not paid for this post in any way. Webster's Chalk Paint Powder company sent me the free samples for my class and one for myself, but did not ask for a post or provide any other incentive. I just liked that they acknowledged me and and I found their product insanely useful. All opinions are completely my own. 

Does that sound like the Queen of Hearts in Disney's Alice in Wonderland?
 "All ways are My ways!"


Thursday, September 12, 2013

Dana's Table and the Year of the Dining Room

 So this is a post I started over a year ago. And I just finished it today. But I really like where I started and so just pretend that the last post you read from me was this one, the first time I went to the Lucketts Spring Fair and met Miss Mustard Seed.
__________________________________________________________________________________

I have been stripping in the garage lately. And using my pole too. Isn't that just so deliciously salacious coming from an overweight stay at home mom? I have to admit though, I have been stripping in my garage. Sometimes, I even leave the door open so the neighbors can watch. But that is the middle of this story. I better tell the whole thing from the beginning.


When our previous episode left off, Dana and I were driving home from a lovely day of shopping in Lucketts. But Dana was a changed woman. Since she found "The" table, Dana has become obsessed with Craigslist. For those of you who haven't discovered this amazing resource yet, Craigslist.com is an online local garage sale of sorts, where you can search for specific things like "wood dining table" and see pictures and read a blurb about the item before you truck to the person's house to look at it. As I was the one who suggested she look there for a table, it was only a matter of time (about 3 hrs after we got home from Lucketts) before she had me obsessing right along with her. I came home that same day and decided to reorganize my whole house. I am now in the process of refinishing a gorgeous mahogany buffet, but that is it's own story.


While I was looking for my stuff, I was sending her links to tables that could be just like her inspiration table. Oh, I forgot to tell you. Dana has an "inspiration room" for the dining room. Check it out here. She has hired a carpenter to make the long shelves with the thick molding that run along one wall. She is trying to decide if she's going to build the buffet table the same way, or get a darker antique or vintage piece. And she is totally married to the table in the pic, although she keeps changing her mind about natural top or dark top. Gotta love a pregnant woman's drive.

This gorgeous room is from The Old Painted Cottage Blog. It's fantastic. You should check it out.

So miracle of miracles, after a month of sending her about 10 Craigslist posts a day, Dana emails me and says, "I think this one might be it...." This is a rather ominous statement coming from Dana as she has a really, really hard time making up her mind about decorating stuff, especially if it involves a large financial or longevity commitment. She just wants to be sure she gets what she really wants. Because, you know, there might be something better next week.....

Anyway, after looking at listings for a month, the stars aligned and we took a lovely drive to Beltsville, MD, which is on the other side of the region from us. And Dana actually committed this table and chair set:


Nice legs, pretty rush seated chairs, solid construction, and the worse varnish job I have ever seen. Seriously. Varnish drips everywhere. Several gaps on the top where there simply was no varnish. It made me wonder if the man of the family tried a little varnish DIY, just to make it really, really shiny. And this table was shiny, like you could do your make-up looking in it shiny. But the price was right. $199 for the entire set, chairs and all. (The lady even gave Dana her $1 bill in change.) And the legs! Those gorgeous chunky solid wood legs had us at "hello".

So I got to work transforming the table. Initially Dana was going to leave the top and try to match the look of this table:

 The Bee Keeper's Cottage, a regular vendor at the Old Lucketts Store

I took the table apart, leaving the top as it was, dripped varnish and all. I started with a coat of French Linen Chalk Paint from Annie Sloan.
 
This is after one coat on those pretty legs.


First Coat of Pure White over the Linen.


The leg on the right has the second coat of Pure White. 
 I find that I often need two coats of Pure White or Old White.

I am always amazed at how the wax transforms things. Here is what the leg looked like after being waxed with clear wax and then selectively distressed.

Are you as in love with these legs as I am? 
I really, really love how curvy they are. And the finish on them feels smooth as glass. 
Sometimes I even surprise myself with the quality of my work.

I got the whole frame of the table painted and assembled and then I took the cover off the table top and was confronted with this:

 
This is the exact color of the finish. There is no unintentional yellowing due to artificial light. 

So after much discussion, which mostly involved me telling Dana that this was way too crappy to put with the pretty table I had just spent three days refinishing, "We" decided to strip it.

So here I am, back in the garage, stripping away.


I think I was wearing more clothes than all the other DC Metro Area strippers combined. 
I even have socks on. It was June. I wonder why I was wearing socks? 

In any case, though the process, I learned that I LOVE the gel citrus stripping agent they sell at Home Depot. If you need something stripped, I highly recommend it. It actually smells good! It works really well and fairly quickly. And it's not nearly as toxic as most of the other stripping agents. I covered up, and kept track of my debris, but I wasn't worried about my fingers turning green or shriveling and falling off, which I had been worried about on occasion with other products.

Once it was all stripped and cleaned and put together, this is what it turned out like:


Dana was so happy with the table, she actually sat down and cried. 
No better compliment to the artist than that.
---------------------------------------------------------------------
OK, so that was then. Let's fast forward to now.

In the last year, Dana and her very hard working and handy husband Travis have completely transformed their dining room, and the table is the centerpiece of the design.

Welcome to their new dining room!


This buffet was a total gift from the universe. It is solid vintage pecan wood. 
She got in off Craigslist for $100. 

 This is the true color of the piece. I LOVE the handles!

Apparently the people she bought it from had just bought a house, and the former owners left it there. The new people just wanted it gone, so Dana gets to live happily ever after with it in her dining room. 

She has been collecting the white wear ever since Lucketts. I suppose we should say, I have been collecting the white ware for her as I bang around the countryside looking for deals for the barn sale.

This piece, however, she did buy for herself. From none other than Miss Mustard Seed herself. It was cherished and loved, until one day, one of her kids bumped it accidentally. It smashed on the ground into about 20 pieces. She sadly and lovingly put them in a bag and brought them over, asking if I could use broken pottery for any of my projects. It was so sad. So once she left, I opened the bag, and slowly rebuilt the chamber pot for her. Obviously, I did a less than perfect job, but with some Gorilla Super Glue, at least it is in one piece and holding firm.

I couldn't resist posting this one. This is one of my up-cycled coaster bud vases. Dana snapped this one up from me before the 2012 spring barn sale even started. I still can't believe how well those vintage science bottles fit!

As much as I love the table and the side board, I think the piece de resistance in this room is the Family Rules sign.


This is the real McCoy from Between You and Me. This little Etsy company, of Perfectly Imperfect and Thistlewood Farms fame (two of Dana and my favorite blogs), hand-makes the most gorgeous Family Rules signs either of us had ever seen. And we looked at  A LOT of signs together because Dana really wanted that to be a defining element of the room. In the long run, she decided to let this be her splurge. She even had a family council to let the kids weigh in on the rules that would be listed. I was just happy that Dana allowed herself to buy the thing that she most wanted, rather than making do with something lesser.

It just pulls the room together so nicely.

Another hand done element in the room was the wainscoting.  Travis put all of it in himself.


Sometimes I wish I had a handy husband instead of a handy self. 
And then I remember that it took a year for this room to get finished. 

 
But Travis is unstoppable. 
As I was shooting the dining room today, Travis was bead boarding the bathroom. 
Go Travis!

Here are a few more beauty shots, just for fun.


Almost everything in this room was gathered slowly and inexpensively or made by hand. And yes, it took a while, but I love that every piece in here has meaning for Dana. What better thing could you  surround yourself with, than beautiful things that remind you of the adventures you had getting them and people you loved being with? 


I really do love those legs. 'Sigh'